- Go to Google Cloud.
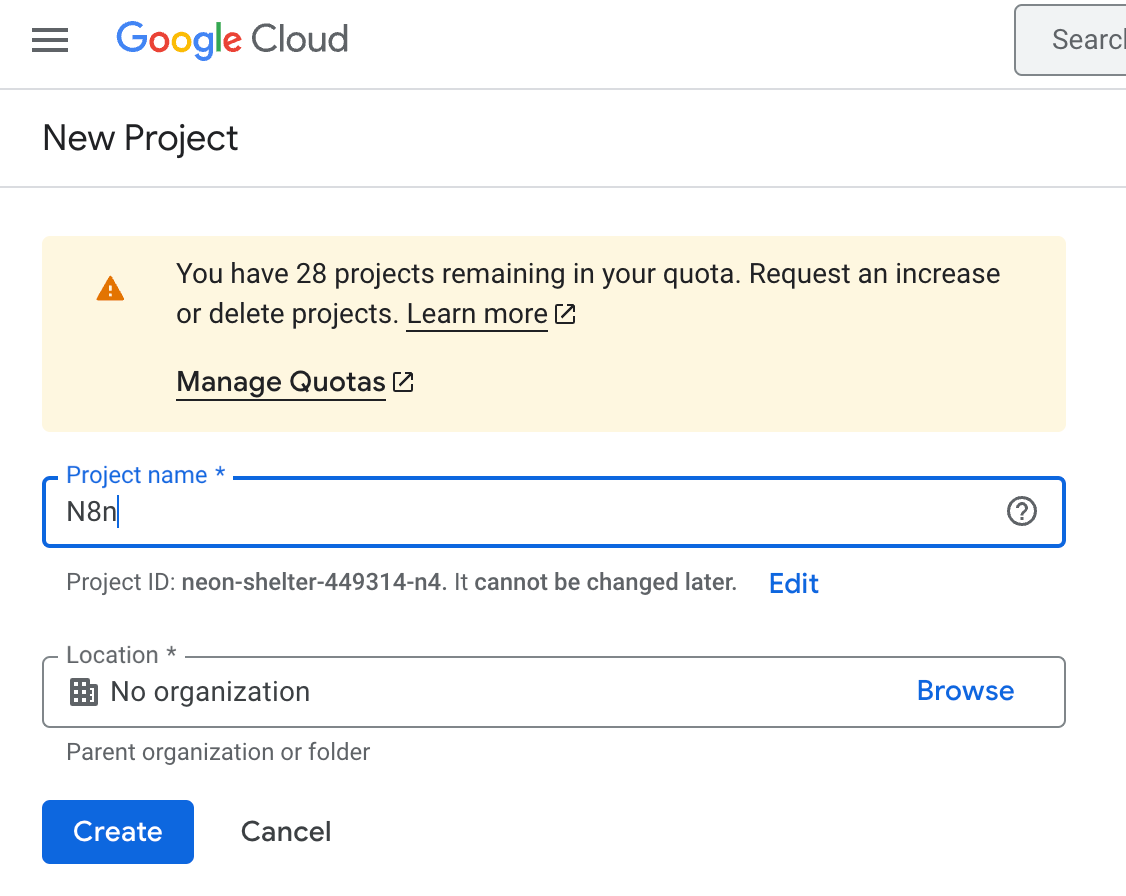
- Create your project.
- Name your project. We will name it N8n for this tutorial.
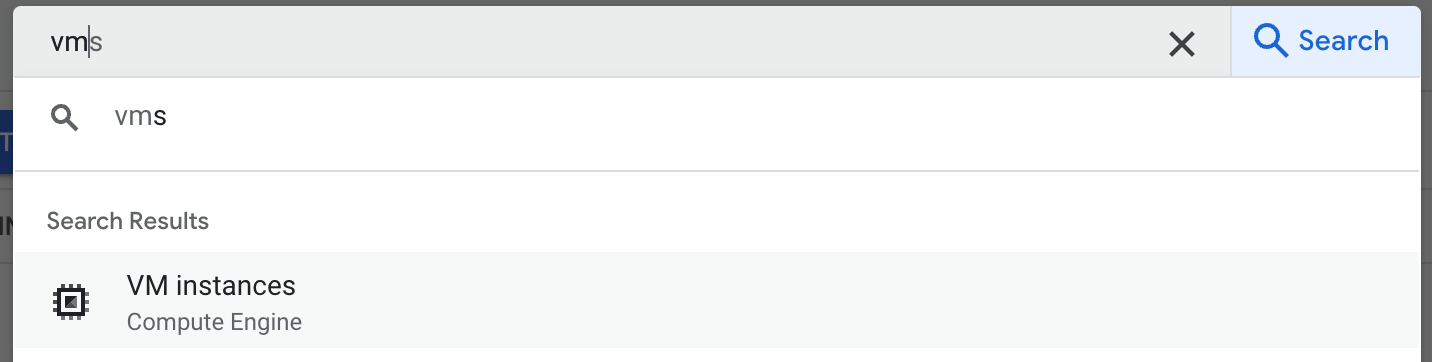
- On the new project overview dashboard, search for VM (Virtual Machine).
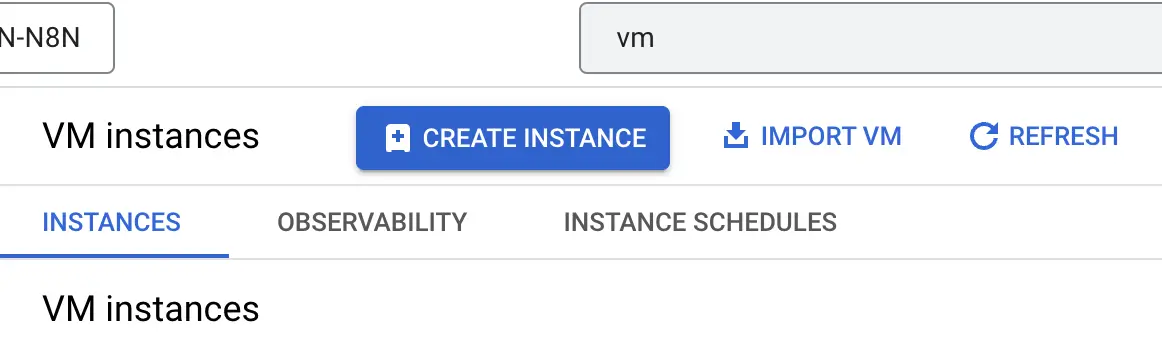
- Click on Create Instance.
- Under Machine configuration
- Name your VM.
- Choose your Region & zone, us-central usually has the lowest cost.
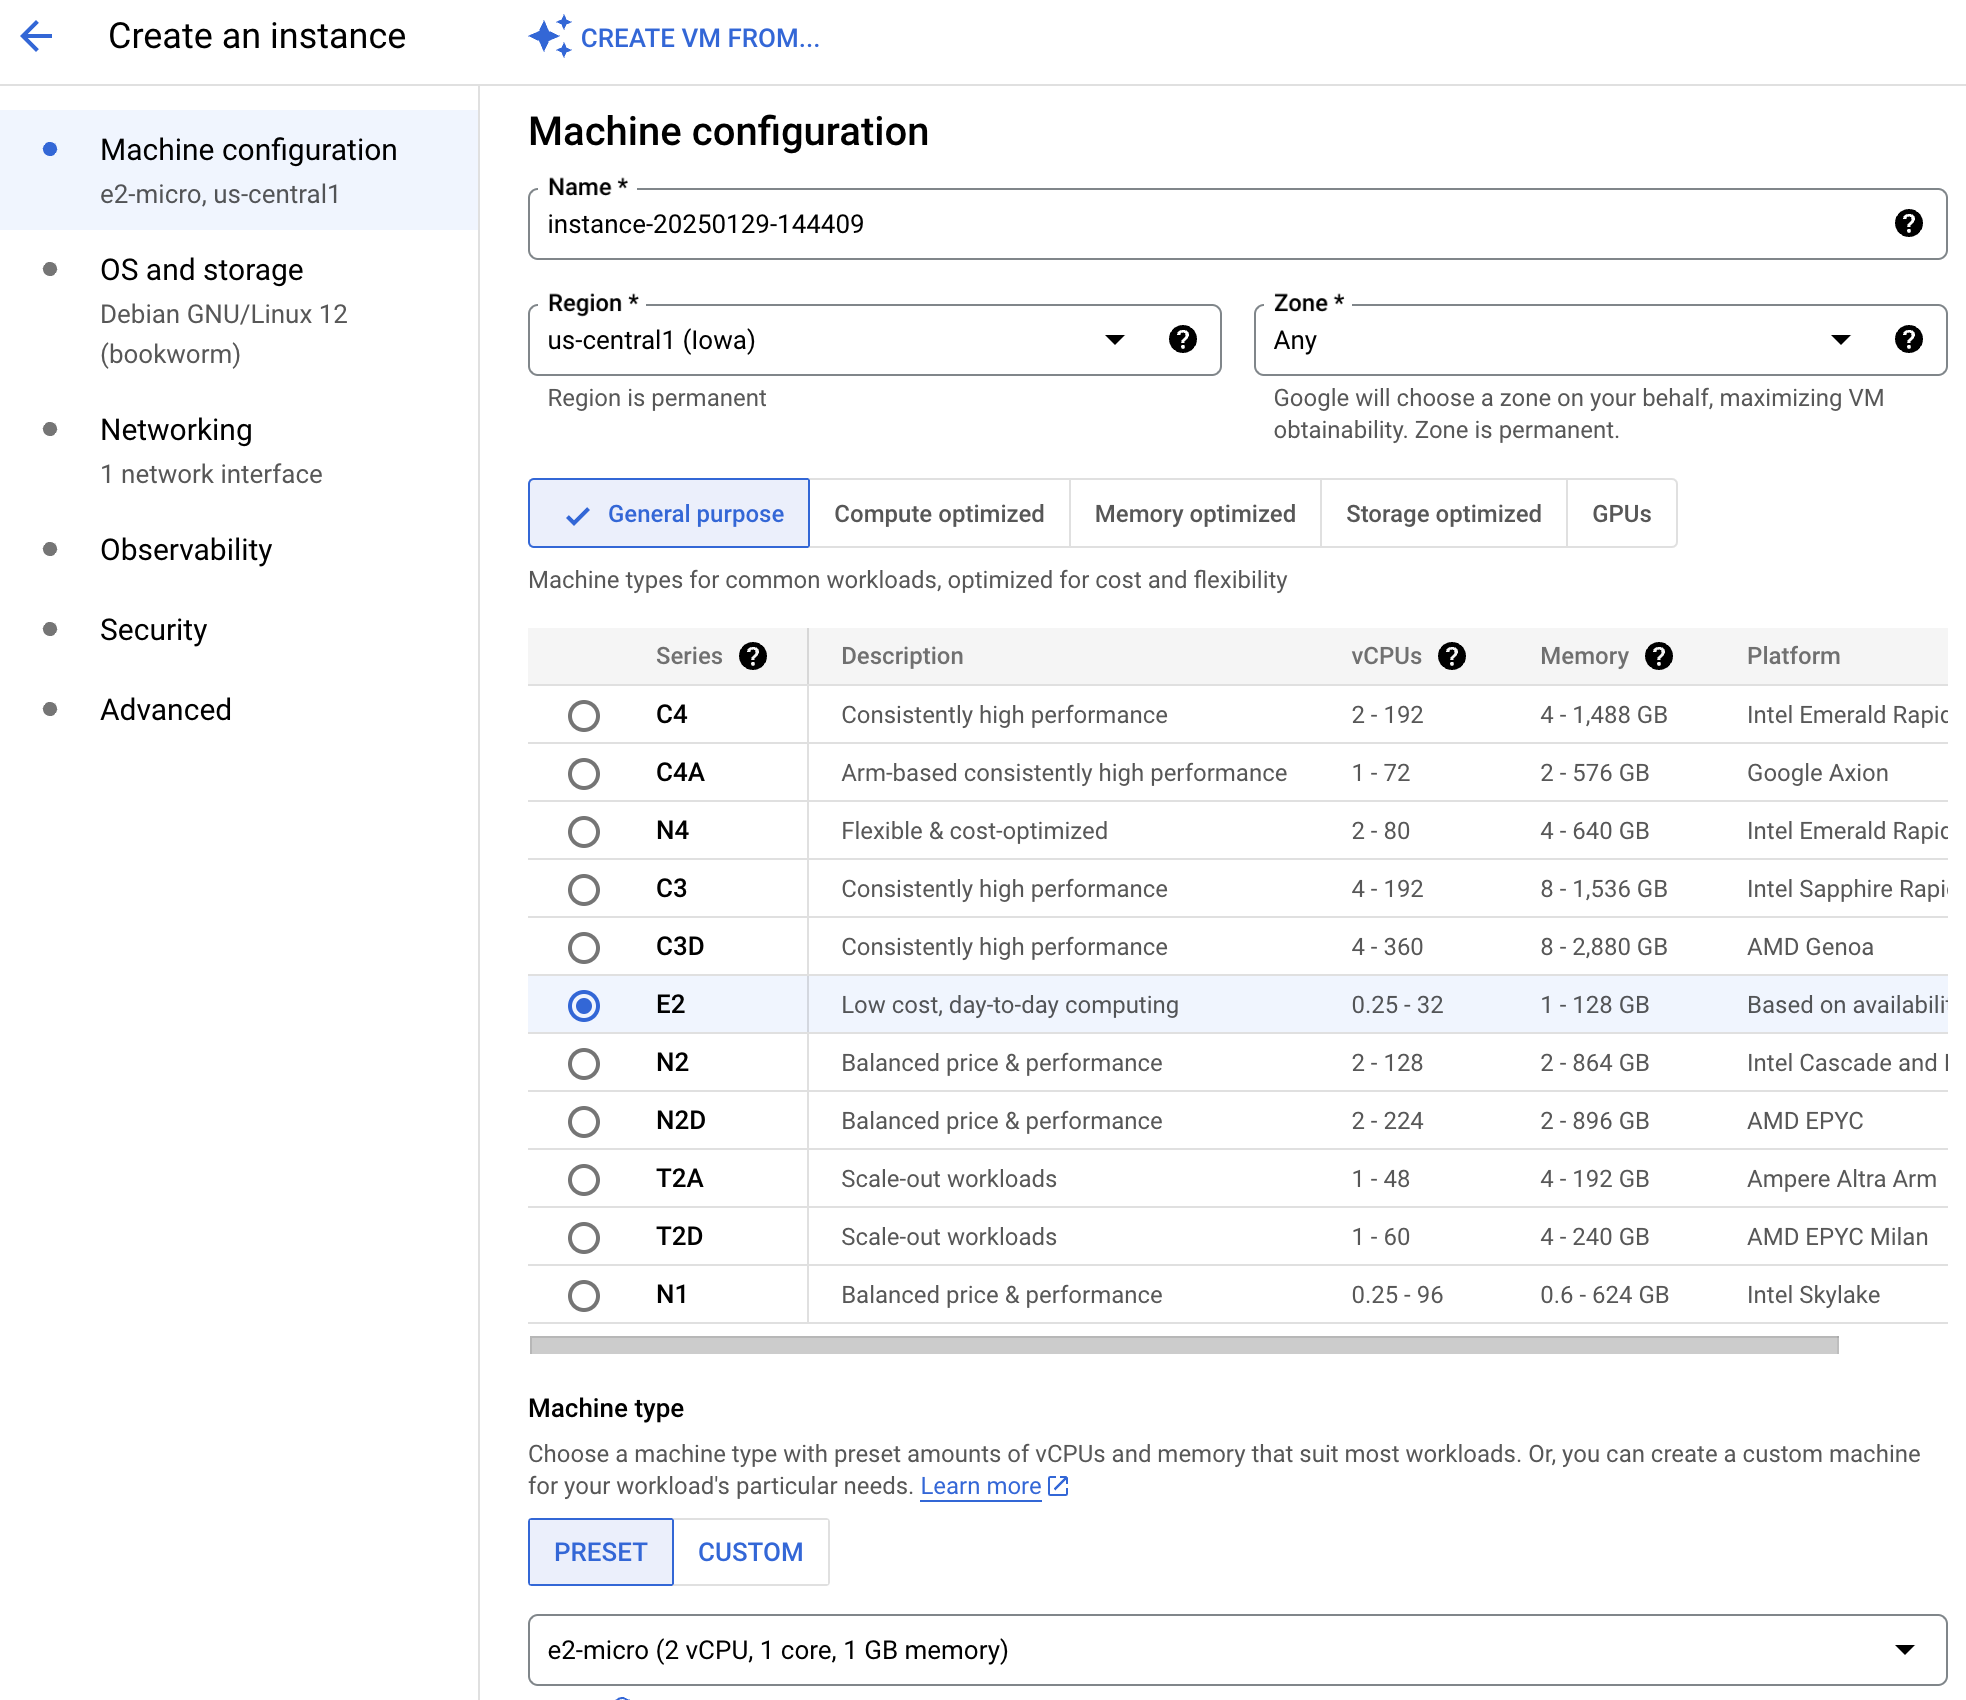
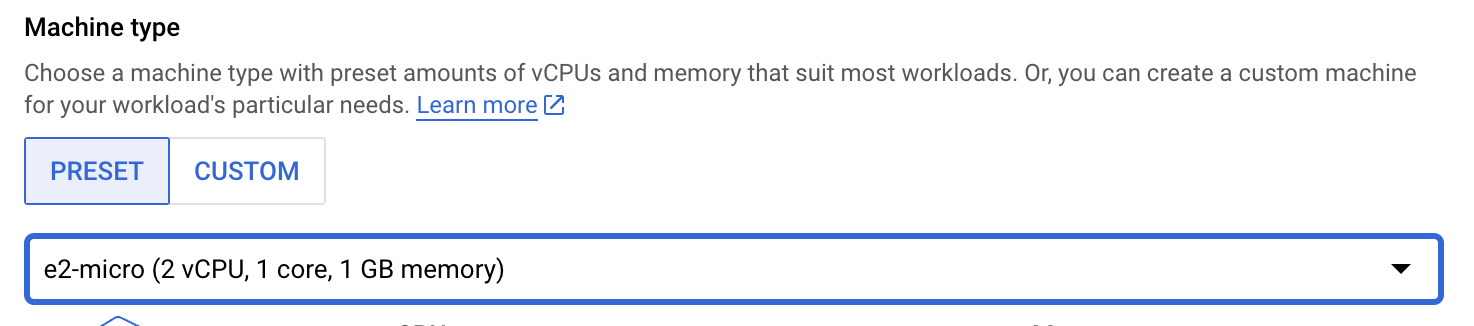
- Pick e2-micro, this is free for any project first instance.
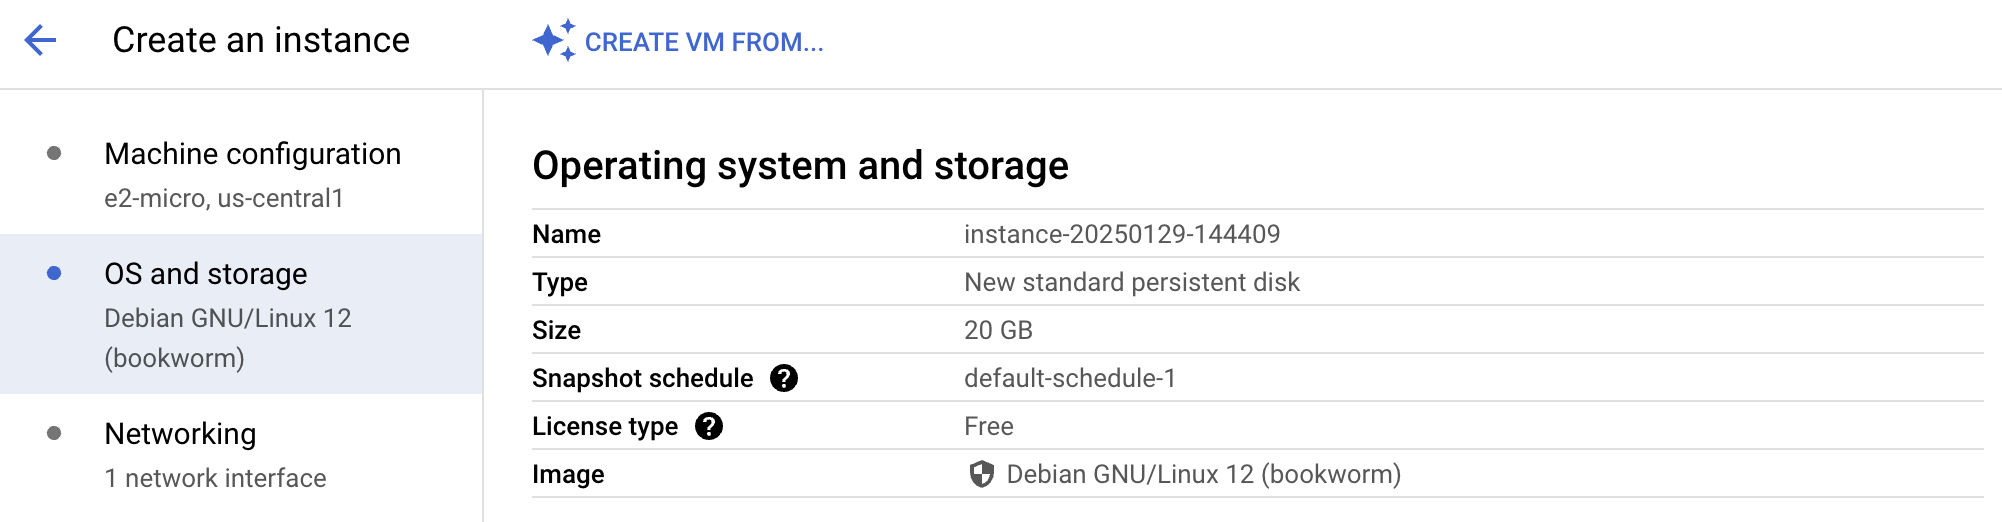
- Under OS and storage
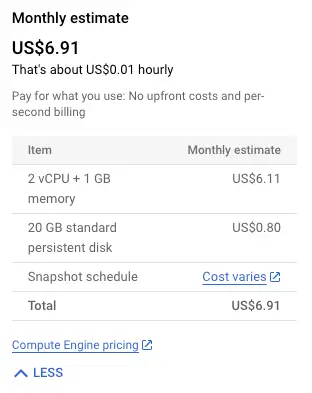
- Change the size to 20 GB. Depending on how much space you need. Cost increases as the size increases.
- Change your type to "Standard Persistent Disk"
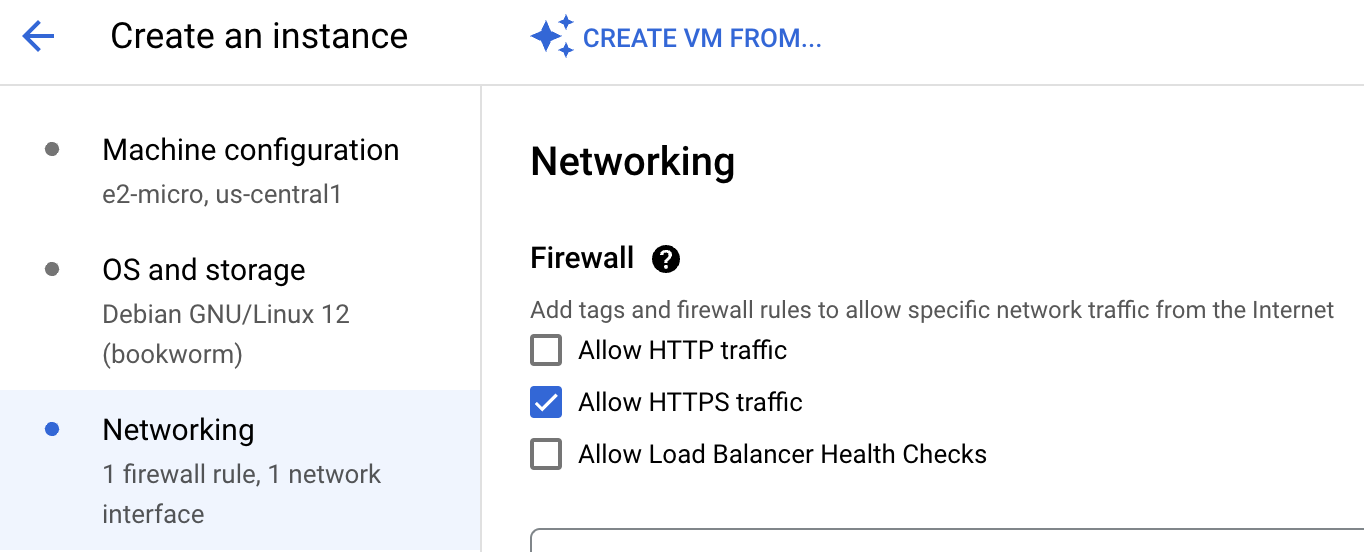
- Under networking.
- Allow HTTPS Traffic. It's secured, only use allow HTTP traffic if you need to test or connect internally.
- You might notice the 2 vCPU + 1GB (e2-mirco) but don't worry about it, it's free for every first project instance. You probably only need to pay for the disk space.
- You are done. Let's create! It takes a few minutes to complete initializing your new VM instance.

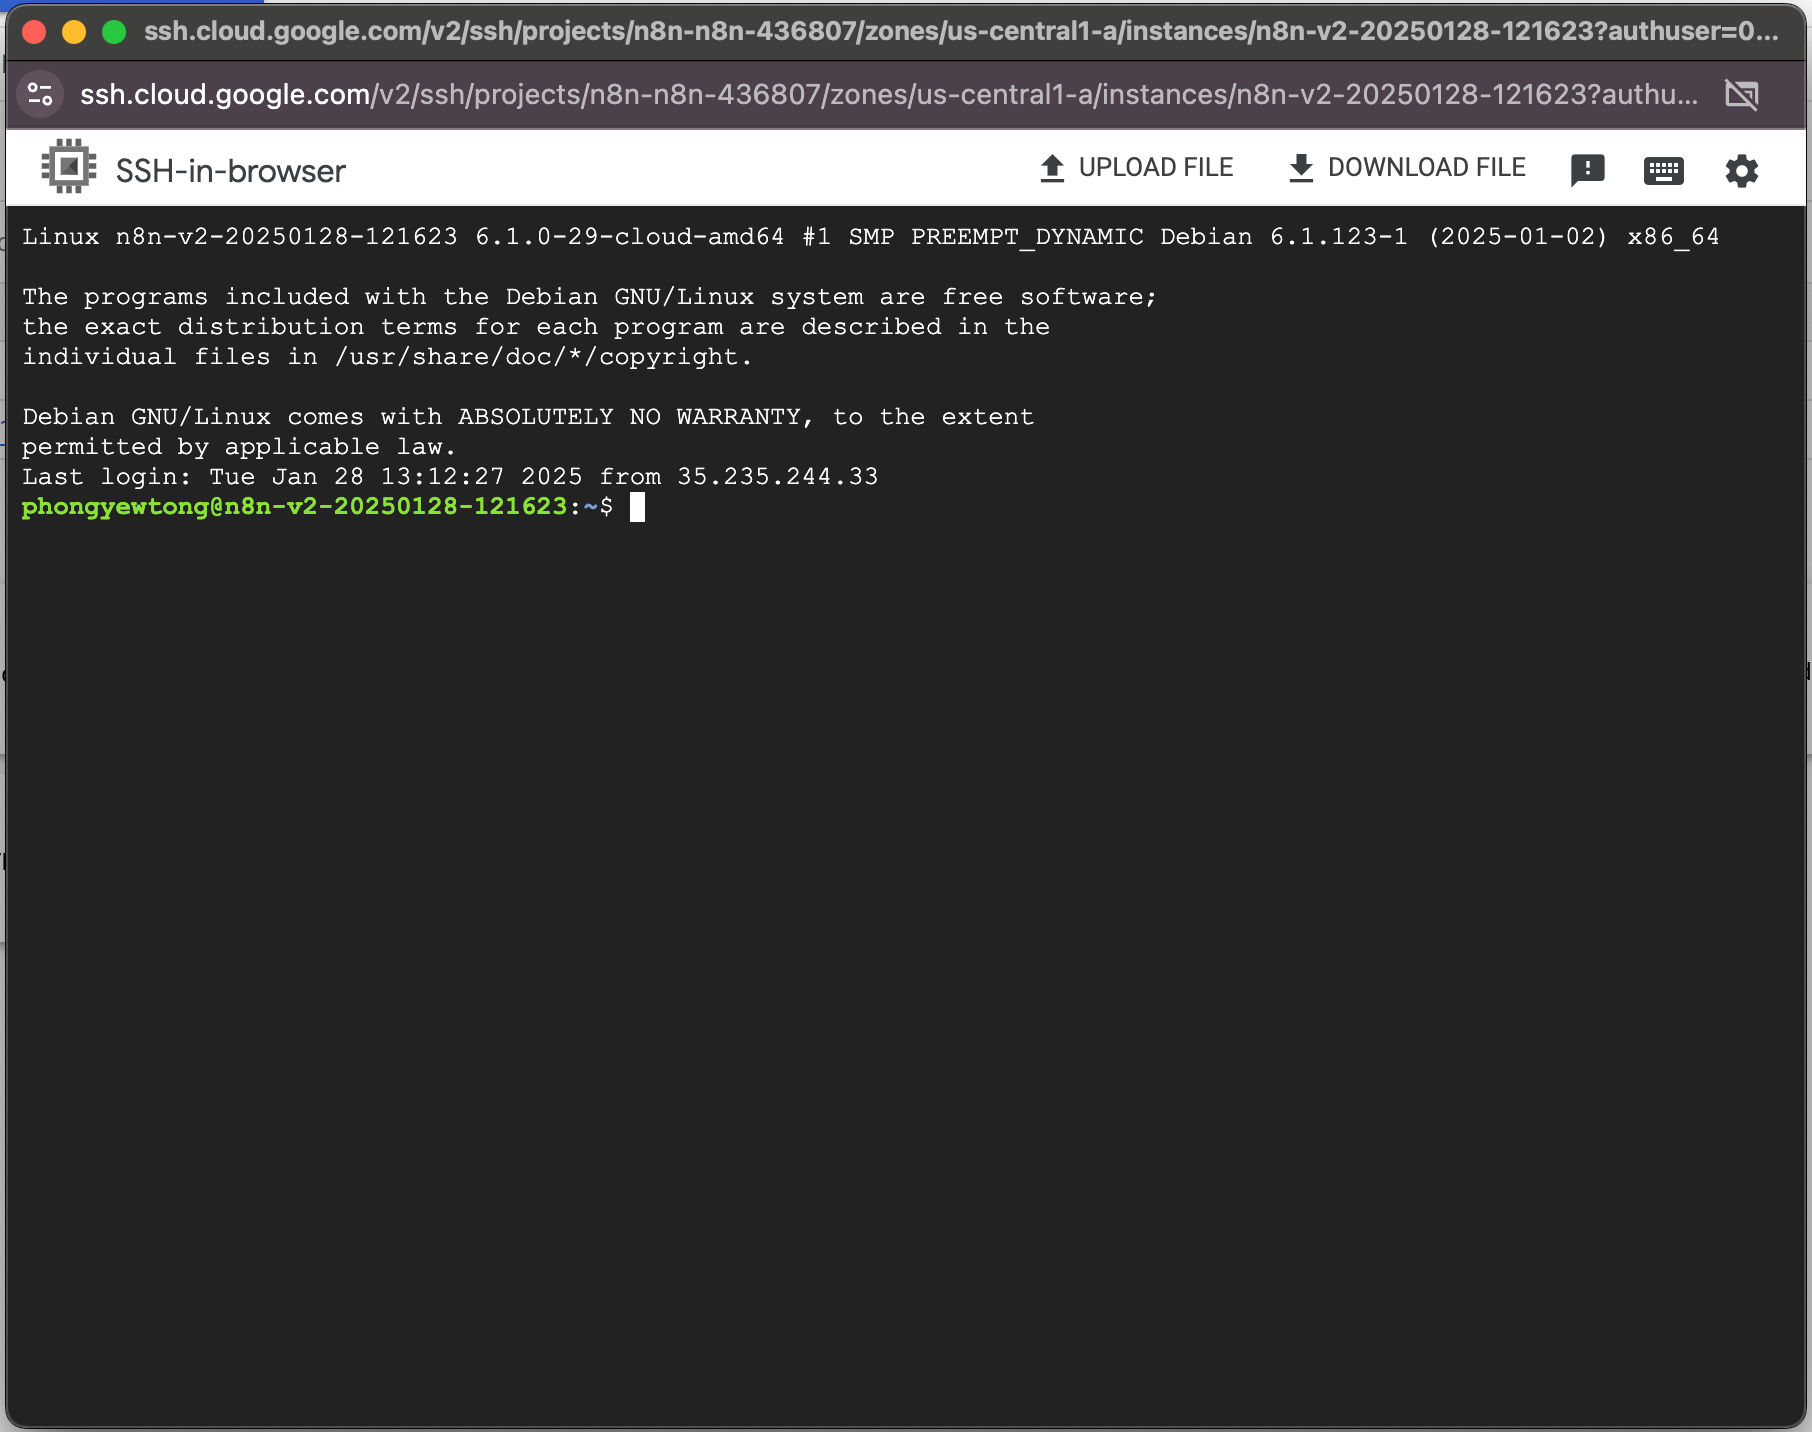
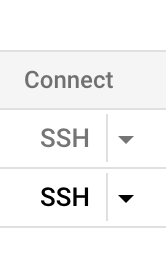
- After your VM is created on the dashboard, Click on SSH.
- Now you can start installing your package and set up your database or website here.